- Before You Start — What to Prepare
- Step 1 — Sign Up Free on Khata Billing
- Step 2 — Set Up Your Shop Profile
- Step 3 — Add Your Products (The Most Important Step)
- Step 4 — Add Your Regular Customers
- Step 5 — Create Your First Digital Invoice
- Step 6 — Share with Your Customer
- Week 1 After Going Digital — What to Expect
- Frequently Asked Questions
Going digital with your shop's billing is one of the best decisions you'll make as a business owner — and it's much simpler than most people expect. The entire setup takes under an hour, costs nothing, and the daily benefits begin immediately: faster billing, accurate stock, instant customer receipts, and zero manual GST calculation.
This step-by-step guide walks you through exactly how to start digital billing in your shop using Khata Billing — from the moment you sign up to your first digital invoice shared on WhatsApp.
✅ Key Takeaways
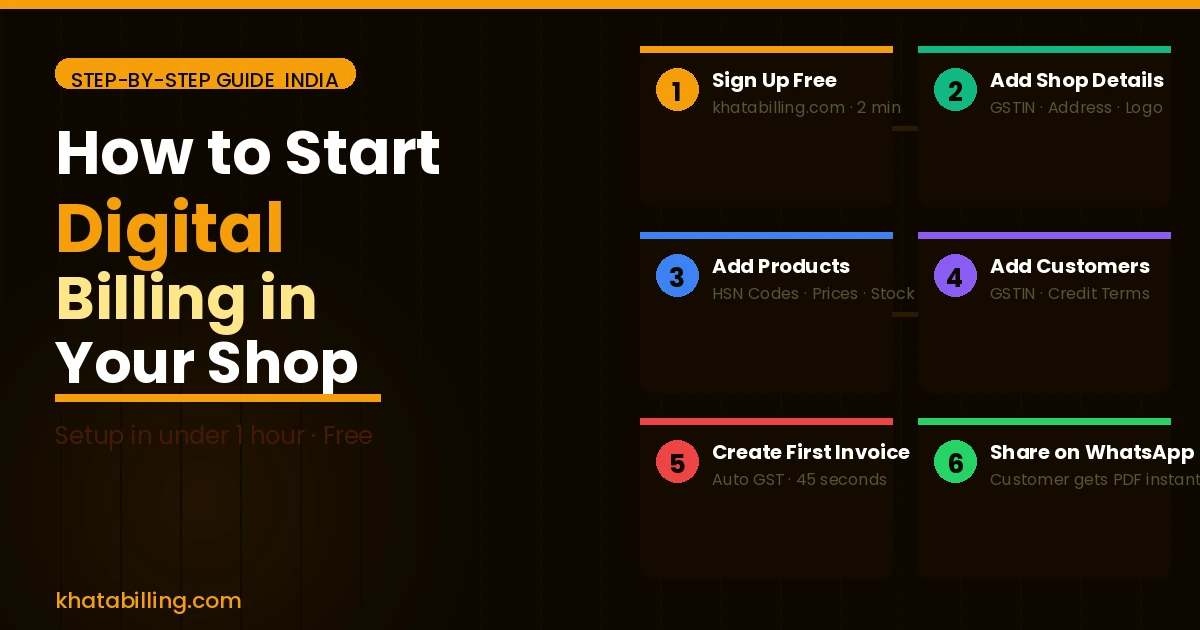
- Step 1: Sign up free — 2 minutes
- Step 2: Add your shop details and GSTIN — 5 minutes
- Step 3: Add your products with HSN codes — 20-30 minutes
- Step 4: Add regular customers — 10 minutes
- Step 5: Create first digital invoice — 2 minutes
- Step 6: Share on WhatsApp — 1 tap
- Total setup time: under 1 hour
- Benefits start immediately from day one
Before You Start — What to Prepare
Gather these before sitting down to set up digital billing:
- Your GSTIN — 15-digit GST registration number (if registered)
- Business details — Legal name, full address, bank account details (for payment instructions on invoices)
- Product list — Your products/services with current selling prices. If you have an Excel list, even better.
- HSN codes — For your main products. You can search these in Khata Billing's built-in HSN finder if you don't have them.
- Regular customer list — Names, phone numbers, and GSTIN for business customers
Having these ready means setup is uninterrupted and fast.
Step 1 — Sign Up Free on Khata Billing
Go to khatabilling.com on your phone or computer. Click Sign Up Free. Enter your name, mobile number, and create a password. Verify your mobile number. You're in — no credit card, no payment, no trial period.
Tip: If using your phone, tap the browser menu and select "Add to Home Screen" — this creates a one-tap home screen shortcut that feels like a native app.
Step 2 — Set Up Your Shop Profile
This is the information that appears on every invoice you create:
- Business/shop name
- Complete address (as registered with GST if applicable)
- GSTIN
- Contact number and email
- Bank account details (for payment instructions — helps customers pay faster)
- Upload your shop logo if you have one
This takes about 5 minutes and is done once forever.
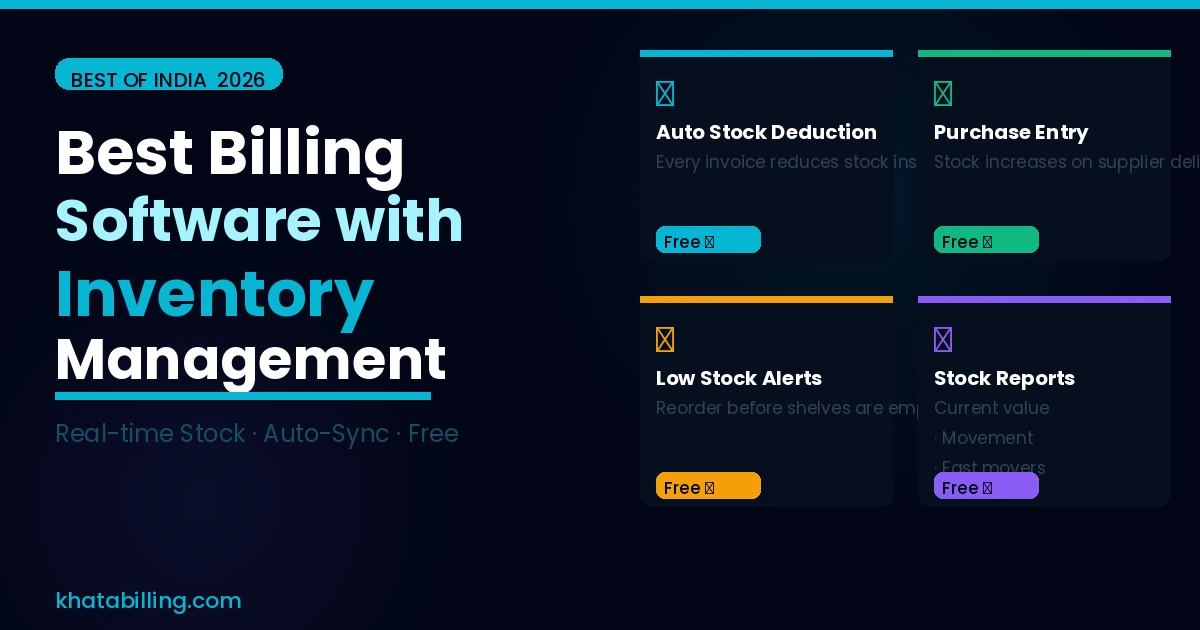
Step 3 — Add Your Products (The Most Important Step)
This is where most of the setup time goes — and it's worth doing right. For each product or service:
- Product name — as you want it to appear on invoices
- HSN code — use Khata Billing's search to find it by product category
- GST rate — 0%, 5%, 12%, 18%, or 28%
- Default selling price
- Unit — piece, kg, box, litre, hour, etc.
- Opening stock — current quantity in stock
Start with your top 30-50 products. You can add more later — new products can be added in 30 seconds any time. Don't wait until your list is perfect to start billing.
Step 4 — Add Your Regular Customers
Add customers you bill frequently — especially credit customers:
- Customer name
- Address and state
- GSTIN (for business customers — mandatory for them to claim ITC)
- Phone number (for WhatsApp sharing)
- Credit terms (30 days, 45 days, etc.)
- Opening balance (if they already owe you money — enter the outstanding amount)
Walk-in customers can be billed under a generic "Retail Customer" entry — you don't need to add every customer individually.
Step 5 — Create Your First Digital Invoice
Click New Invoice. Select your customer (or type their name for a new one). Add products by searching and tapping. Enter quantities. GST calculates automatically. Click Save.
Your first digital GST invoice is created. Notice:
- Your logo and shop details are on the invoice
- CGST and SGST (or IGST) are correctly calculated
- Invoice is numbered automatically
- Stock has already been reduced in the background
Step 6 — Share with Your Customer
Tap Share on WhatsApp. Select your customer's number. They receive a professional PDF invoice immediately on their phone.
No printing. No courier. No email attachment. Your customer has the invoice before they've even left your shop.
Week 1 After Going Digital — What to Expect
Day 1-2: Slightly slower as you find products in the list. Normal — this speeds up dramatically within 2-3 days as muscle memory builds.
Day 3-4: Invoice creation is now genuinely faster than handwriting. Stock counts are automatically accurate.
Day 5-7: You check your collections dashboard and realise you have a clear view of who owes what — something your notebook never gave you clearly.
End of week 1: You'll wonder why you didn't switch sooner.
Starting digital billing in your shop is a one-hour investment that pays back every single day. Sign up free at khatabilling.com right now — your shop can be fully digital by this evening.